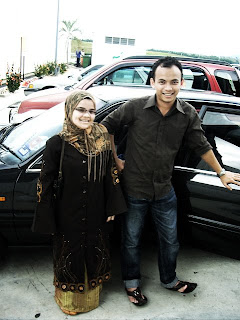

 -Kereta-
1-ctrl+j(duplicate layer)
2-overlay
3-gaussian blur
4-unsharp mask
5-square tool wat satu kotak penuh atas gambar
6-set opacity sesedap rase tukar kaler mode sesuka ati...
-Lomo-
1-Copy the layer ( Ctrl+J)
3. Select/click the top layer and go to Filter>Others>High Pass. Choose the radius between 5.0 to 7.0 (depends on the image)
4. Go to Layer>Layer Style>Blending Option and change the blend mode into Vivid Light
5. Merge down the layer (Ctrl+E)
6. Select the top layer and go to Filter>Distort>Lens Correction. Changes made only in Vignette section. Change the amount and midpoint into negative value, this will make the picture be darker at the boarder/frame. example : Amount: -50; Midpoint: - 40
7. Click on Channel tab or Window>Channel.
8. Invisible all the color except Red Channel, by uncheck all the small boxes and leave only Red Channel with the eye.
9. Go to Image>Adjustment>Brightness&Contrass. Increase the Contrast. Example : +50
10. Now make only Green Channel visible.
11. Go to Image>Adjustment>Brightness&Contrass. Increase the Contrast. Example : +50
12. Now make all the channel visible.

wahhh mini coop en mamat eh? hebat2.
ReplyDeletebile diorang mau kawen? huuuuu
ape kes ni.perjuangan?err...
ReplyDeletehoi...rahsia jgn bgtau org..hahah
ReplyDeletetutorial tok keri ker?
ReplyDeleteko leh lyn kerenah c keri tuh..
kalo aku,kasi petir panah je
haha~
haha...korang mmg xleh bejumpe..ade je nak jeles...
ReplyDelete