
 -Kereta-
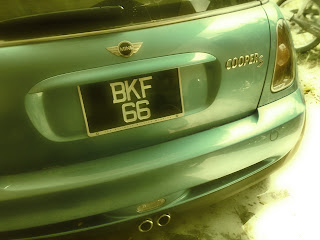
1-ctrl+j(duplicate layer)
2-overlay
3-gaussian blur
4-unsharp mask
5-square tool wat satu kotak penuh atas gambar
6-set opacity sesedap rase tukar kaler mode sesuka ati...
-Lomo-
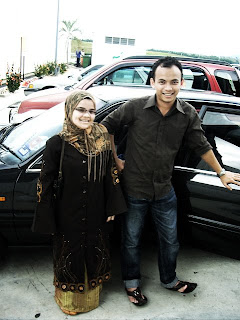
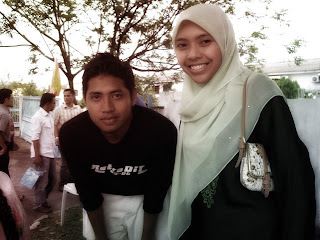
1-Copy the layer ( Ctrl+J)
3. Select/click the top layer and go to Filter>Others>High Pass. Choose the radius between 5.0 to 7.0 (depends on the image)
4. Go to Layer>Layer Style>Blending Option and change the blend mode into Vivid Light
5. Merge down the layer (Ctrl+E)
6. Select the top layer and go to Filter>Distort>Lens Correction. Changes made only in Vignette section. Change the amount and midpoint into negative value, this will make the picture be darker at the boarder/frame. example : Amount: -50; Midpoint: - 40
7. Click on Channel tab or Window>Channel.
8. Invisible all the color except Red Channel, by uncheck all the small boxes and leave only Red Channel with the eye.
9. Go to Image>Adjustment>Brightness&Contrass. Increase the Contrast. Example : +50
10. Now make only Green Channel visible.
11. Go to Image>Adjustment>Brightness&Contrass. Increase the Contrast. Example : +50
12. Now make all the channel visible.

5 comments :
wahhh mini coop en mamat eh? hebat2.
bile diorang mau kawen? huuuuu
ape kes ni.perjuangan?err...
hoi...rahsia jgn bgtau org..hahah
tutorial tok keri ker?
ko leh lyn kerenah c keri tuh..
kalo aku,kasi petir panah je
haha~
haha...korang mmg xleh bejumpe..ade je nak jeles...
Post a Comment